This Site Is A Participant In The Amazon Services LLC Associates Program. We may earn money or products from Amazon or the companies mentioned in this post.
If you’re looking for a natural and affordable way to take care of your skin, making fruit facial cream at home is the perfect solution. Not only will it be free from harsh chemicals and artificial ingredients, but it will also provide your skin with the nourishment and hydration it needs. In this article, we will guide you through the step-by-step process of creating your own fruit facial cream.
Ingredients:
- Fresh fruits of your choice (such as papaya, banana, kiwi, strawberry, etc.)
- Natural oils (such as coconut oil, jojoba oil, or almond oil)
- Honey
- Yogurt or milk

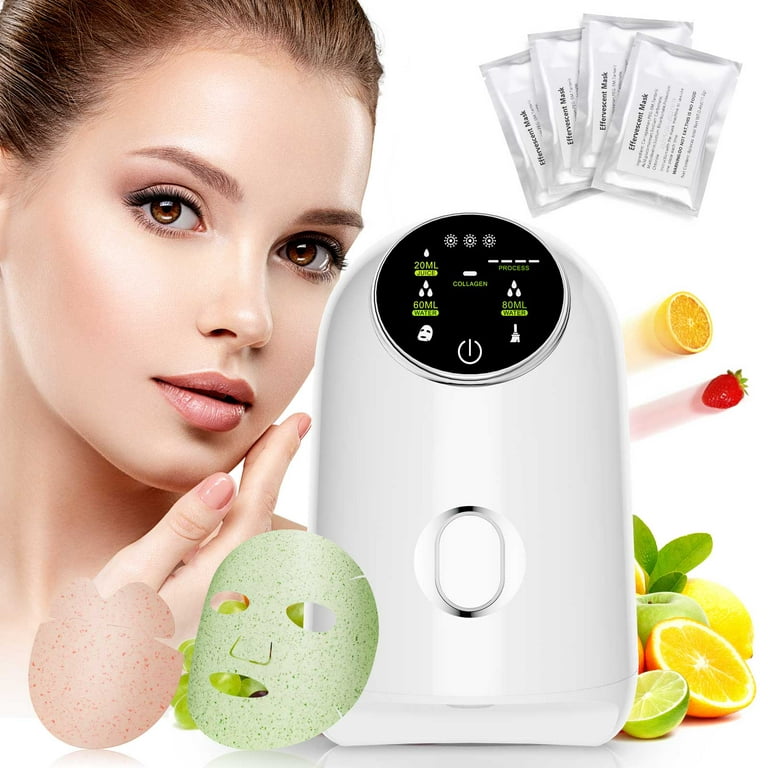
Credit: www.walmart.com
Step 1: Fruit Extraction
Start by extracting the pulp or juice from the fruits you have chosen. You can do this by using a blender or simply mashing the fruits with a fork.
Step 2: Mixing the Ingredients
In a clean bowl, combine the fruit pulp with a tablespoon of natural oil, a tablespoon of honey, and a tablespoon of yogurt or milk. Mix well until you achieve a smooth and creamy consistency.
Step 3: Storage
Transfer the fruit facial cream into a clean and airtight container. Store it in the refrigerator to ensure freshness and longevity.
How to Use Fruit Facial Cream?
When you’re ready to use your fruit facial cream, follow these steps:
- Cleanse your face using a gentle cleanser to remove any dirt and impurities.
- Apply a small amount of the fruit facial cream onto your face, avoiding the eye area.
- Massage the cream onto your face using gentle circular motions for a few minutes.
- Leave the cream on your face for about 15-20 minutes.
- Rinse off the cream with lukewarm water and pat your face dry with a clean towel.
- Apply your favorite moisturizer to lock in the hydration.
Benefits of Homemade Fruit Facial Cream:
Making your own fruit facial cream at home brings numerous benefits for your skin:
- It is all-natural, free from harmful chemicals and artificial ingredients.
- Fruits are rich in vitamins and antioxidants, which help to nourish and rejuvenate the skin.
- The natural oils provide deep moisturization and hydration, leaving your skin soft and supple.
- Honey has antibacterial properties that can help reduce acne and prevent breakouts.
- Yogurt or milk can help in exfoliating dead skin cells, revealing a brighter complexion.
Regular use of fruit facial cream can improve the overall health and appearance of your skin, giving you a youthful and radiant glow.

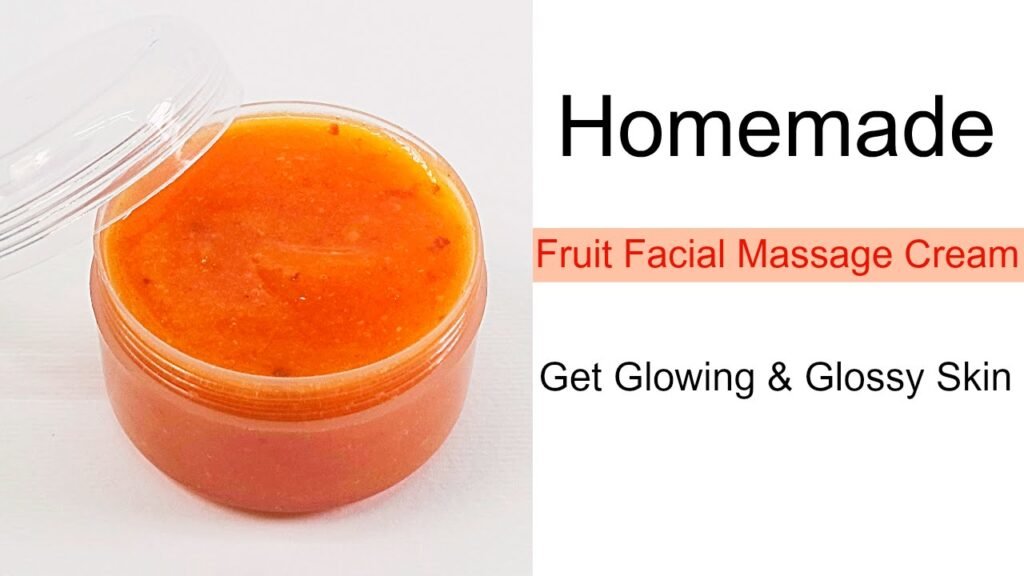
Credit: www.amazon.com
Frequently Asked Questions On How To Make Fruit Facial Cream At Home? Diy Recipes For Glowing Skin
How Do You Make Fruit Cream For Your Skin?
To make fruit cream for your skin, mix fresh fruit puree with natural yogurt. Apply the mixture to your skin and leave it for 15-20 minutes. Rinse with water and pat dry. Regular use can help in nourishing and brightening the skin.
What Are The Three Ingredients In Homemade Face Cream?
Homemade face cream typically includes distilled water, an oil like jojoba, and any preferred oil.
How Do You Make Homemade Face Cream?
To make homemade face cream, combine oils like jojoba with distilled water. Customize with your choice of ingredients.
What Fruit Makes The Best Face Mask?
Papaya is the best fruit for a face mask. Its enzymes help exfoliate and brighten the skin.
Conclusion
Creating your own fruit facial cream at home is not only a cost-effective solution but also a healthier choice for your skin. By using natural ingredients, you can provide your skin with the nourishment it needs without any harmful side effects. So, why wait? Start experimenting with different fruit combinations and enjoy the benefits of a homemade fruit facial cream.


