
Do you want to achieve a stunning glossy finish without using oil? Whether you’re working on wood, paint, or other surfaces, getting that perfect shine can seem tricky.
But you don’t have to rely on oily products to make your project gleam. In this guide, you’ll discover simple, effective ways to create a smooth, glossy finish that enhances your work’s natural beauty while keeping it clean and oil-free.
Keep reading, and you’ll learn easy steps and expert tips to get that brilliant shine you’ve been aiming for—no oil required. Your next project is about to look sharper than ever!

Credit: www.ebay.com
Prepping The Surface
Preparing the surface is the first step to achieve a glossy finish without using oil. A well-prepped surface allows the finish to adhere better and shine brighter. Careful preparation removes imperfections and creates a smooth base for your finish. Taking time at this stage improves the final look and durability.
Sanding For Smoothness
Sanding smooths the surface and removes rough spots. Start with medium-grit sandpaper to even out the wood. Then, use fine-grit sandpaper to create a sleek finish. Sanding with the grain helps avoid scratches. Take your time and check the surface often. A smooth surface reflects light better, which boosts glossiness.
Cleaning Dust And Debris
Dust and dirt spoil the glossy finish. Use a soft brush or cloth to remove dust from sanding. Wipe the surface with a damp cloth to catch fine particles. Let the surface dry completely before applying any finish. Clean surfaces help the finish stick and look flawless. Never skip this step for the best results.

Credit: www.amazon.com
Choosing Oil-free Finishes
Choosing oil-free finishes is essential for a glossy look without the use of oils. These finishes dry faster and often resist yellowing over time. They protect the surface while giving it a shiny, smooth appearance. Selecting the right product depends on the type of project and desired durability.
Glossy Varnishes
Glossy varnishes create a clear, hard layer on wood surfaces. They are water-based or solvent-based and dry to a bright shine. Varnishes resist scratches and moisture. Applying several thin coats enhances the gloss and durability. Sand lightly between coats for the smoothest finish.
Polyurethane Options
Polyurethane offers strong protection with a glossy finish. It works well on floors, furniture, and crafts. Water-based polyurethane dries quickly and stays clear without yellowing. Oil-based polyurethane is tougher but may darken over time. Use a brush or spray for even application. Multiple coats create a deep shine.
Lacquer And Epoxy Resin
Lacquer produces a very smooth and shiny surface. It dries fast and can be polished to a mirror-like gloss. Spray application gives the best results. Epoxy resin creates a thick, glass-like coat. It enhances color and adds strong protection. Both options require careful handling and good ventilation during use.
Applying Multiple Coats
Applying multiple coats is a key step to create a glossy finish without using oil. Each coat builds up the shine and smoothness on the surface. This method works well with varnishes, lacquers, or water-based finishes. Patience is important because the final look depends on careful layering and drying.
Multiple thin coats help avoid runs and bubbles. They also allow for better control over the gloss level. Between coats, light sanding improves adhesion and smoothness. This process enhances the reflective quality of the finish, making it look polished and bright.
Thin Layer Techniques
Apply each coat in a thin, even layer. Use a high-quality brush or foam applicator. Avoid heavy strokes that cause drips or uneven spots. Thin layers dry faster and reduce the chance of imperfections. Several thin coats work better than one thick coat. Let each layer dry fully before adding the next. Lightly sand between coats with fine sandpaper to smooth the surface. This step removes dust and bumps, helping the finish reflect light evenly.
Drying And Curing Times
Allow enough drying time for each coat. Follow the product instructions for best results. Rushing the process can cause cloudiness or tacky spots. Some finishes need hours or even days to cure fully. Proper curing hardens the finish and boosts durability. Keep the project in a dust-free, ventilated area during drying. Avoid touching or disturbing the surface until it is completely dry. Patience during this phase ensures a shiny, long-lasting finish.
Sanding Between Coats
Sanding between coats is a key step to achieve a glossy finish without oil. It smooths out any rough spots or bubbles that appear after each layer dries. This process helps the next coat stick better and look clearer. Taking time to sand carefully leads to a brighter, more reflective surface. Skipping this step can leave your finish dull or uneven.
Use fine sandpaper and gentle pressure to avoid removing too much finish. The goal is to create a smooth base, not to strip away the coat. After sanding, clean the surface well to remove dust and residue. This prepares the wood perfectly for the next layer.
Light Sanding Methods
Use fine-grit sandpaper between 320 and 400 grit for light sanding. Wrap the paper around a sanding block for even pressure. Sand in small, circular motions or follow the grain of the wood. Avoid pressing too hard to prevent scratches or uneven spots. You can also use a sanding sponge for delicate surfaces. Light sanding removes dust nibs and evens out the finish.
Removing Residue Before Next Coat
After sanding, wipe the surface with a clean, dry cloth to remove loose dust. Use a tack cloth to pick up fine particles that remain. Make sure the surface feels smooth and clean to the touch. Avoid using water or harsh cleaners that may damage the finish. A dust-free surface ensures the next coat adheres properly and shines bright.
Buffing To Shine
Buffing to shine is a key step in creating a glossy finish without using oil. It enhances the surface by making it smooth and reflective. This method works well on wood, plastic, and other materials. Buffing removes fine scratches and evens out the finish.
Using the right tools and compounds is important. The process involves gentle rubbing to bring out a natural shine. This technique can produce a glossy look that lasts long and feels smooth to touch.
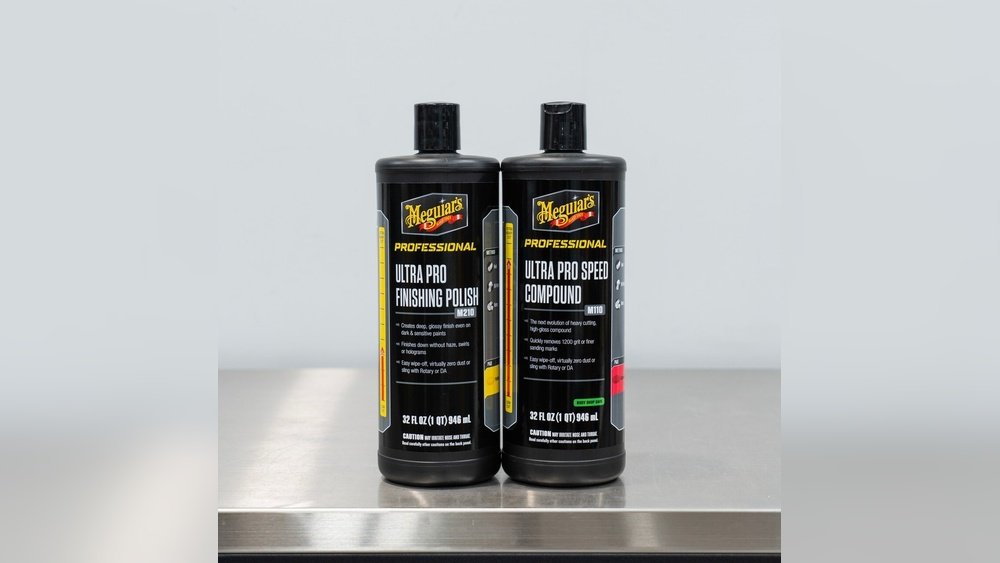
Using Polishing Compounds
Polishing compounds help create a high gloss by smoothing the surface. They come in different grades, from coarse to fine. Start with a coarse compound to remove scratches. Then use finer compounds to increase shine.
Apply the compound with a soft cloth or a buffing pad. Use small amounts to avoid buildup. The compound fills tiny imperfections and creates a mirror-like finish. Choose a compound suitable for your material for the best results.
Step-by-step Buffing Process
First, clean the surface to remove dust and dirt. Then, apply a small amount of polishing compound. Use a circular motion to buff the area evenly.
Keep the pressure light and steady. Too much pressure can damage the surface. Buff until the surface feels smooth and looks shiny.
Wipe off excess compound with a clean cloth. Repeat the process with finer compounds for a deeper shine. Finish by gently buffing with a clean, dry cloth to enhance gloss.
Credit: www.littlehouseonthecorner.com
Frequently Asked Questions
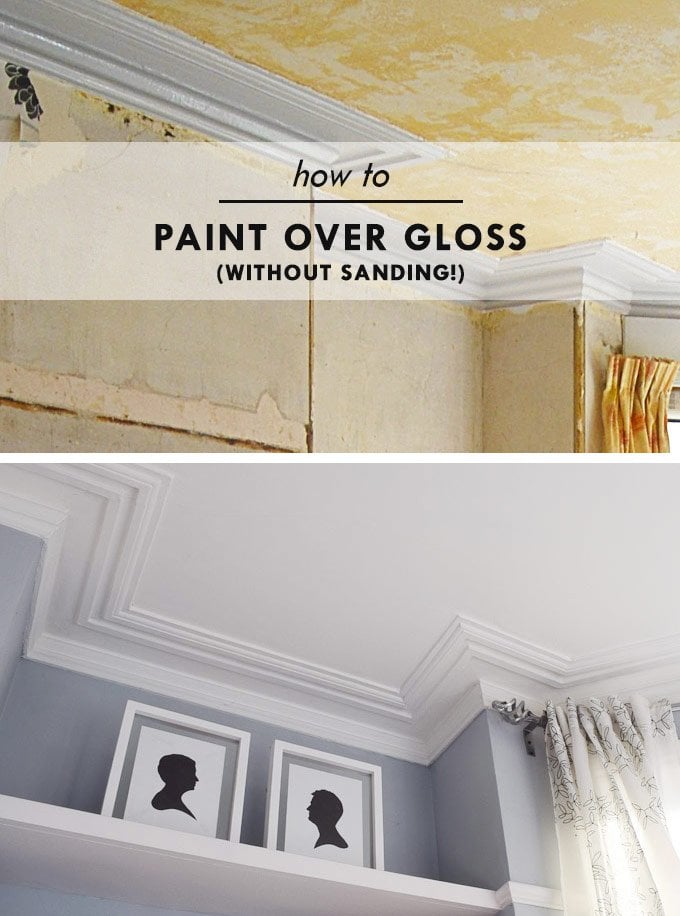
How To Make Paint Have A Glossy Finish?
To make paint glossy, mix in a gloss medium or apply a clear glossy topcoat like varnish or polyurethane. Sand the surface smooth before painting. Apply multiple thin coats, letting each dry fully. Buff the final layer for extra shine.
This enhances gloss and durability.
What Gives Wood A Shiny Finish?
Wood gets a shiny finish by applying multiple coats of clear topcoats like varnish, lacquer, or polyurethane over smooth, sanded surfaces. Sanding between coats and buffing enhances reflectivity, creating a durable, glossy protective layer that highlights the wood’s natural beauty.
How To Make Wood Shine Like Glass?
Sand the wood smoothly. Apply multiple thin coats of glossy varnish, lacquer, or polyurethane. Let each coat dry fully. Buff the surface to a glass-like shine.
How To Get A Deep Shine On Wood?
Sand the wood smoothly to remove imperfections. Apply multiple thin coats of glossy varnish, lacquer, or polyurethane. Let each coat dry fully. Lightly sand between coats and buff the final layer for a deep, reflective shine.
What Materials Create A Glossy Finish Without Using Oil?
Clear varnish, polyurethane, shellac, and lacquer give wood a shiny finish without oil.
How Do I Prepare Wood For A Glossy Finish?
Sand the wood smoothly with fine-grit sandpaper before applying any finish.
Can Water-based Finishes Produce A Glossy Look?
Yes, water-based polyurethane or varnish can create a glossy, oil-free finish.
Conclusion
Creating a glossy finish without oil is simple and effective. Start by sanding your surface smooth for best results. Use clear topcoats like varnish or polyurethane to add shine. Apply several thin coats and let each dry fully. Lightly buff the surface to enhance gloss and smoothness.
This method protects your wood while making it shine bright. You don’t need oil to get that beautiful, glossy look. Try these steps to achieve a polished finish with ease and confidence.